Python
How to Build and Deploy Python project?
If you do not have code ready, you can fork the repository being used in this example: https://github.com/paladium/nativeci-demos
We are going to deploy a hello-world Flask application for Python, follow along to find different ways you can customise your Python deployment.
Guide
Choose your repo first:

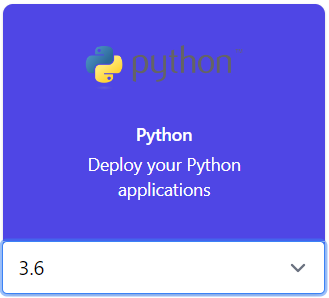
Next, select Python deployment:
To choose a correct Python version, open up the terminal and type the command below:
$ python --version
Python 3.6.1 :: Anaconda custom (64-bit)
Choose the version output, e.g 3.6 or 2.6.
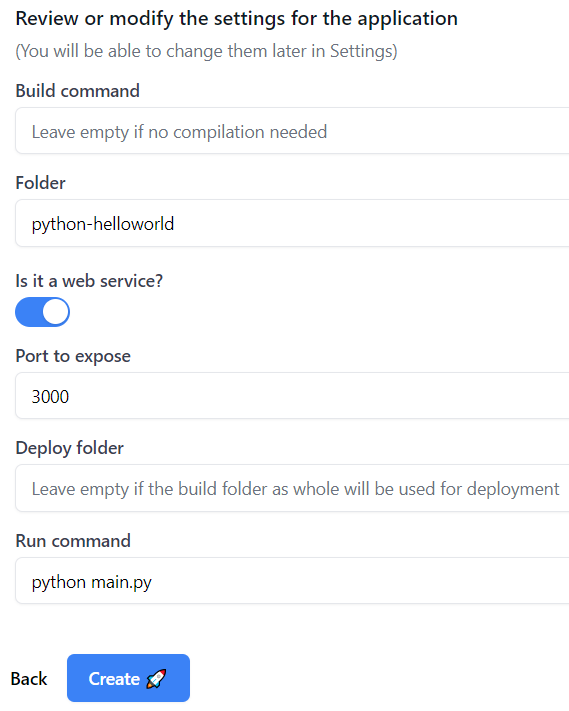
On the final screen, enter the following settings:
Make sure you have
requirements.txtfile in your repo as it instructs NativeCI which dependencies to install for your application to run. Example ofrequirements.txtfile can be found here: https://github.com/paladium/nativeci-demos/blob/master/python-helloworld/requirements.txt
Build command:
#Default build command, no build

#Run tests first
python -m unittest
Folder:
#For monorepo example
python-helloworld
Port to expose:
#Choose port 3000 as ssl is provided automatically
Deploy folder:
#Keep empty by default
Run command:
#Default launch command
python main.py
After that you can visit your website and see how easy it was to deploy it:

The bonus is if you change your code in source control, the build will be automatically triggered and newest version will be deployed. Congratulations, you now have Continuous Build and Deployment.