Databases quickstart
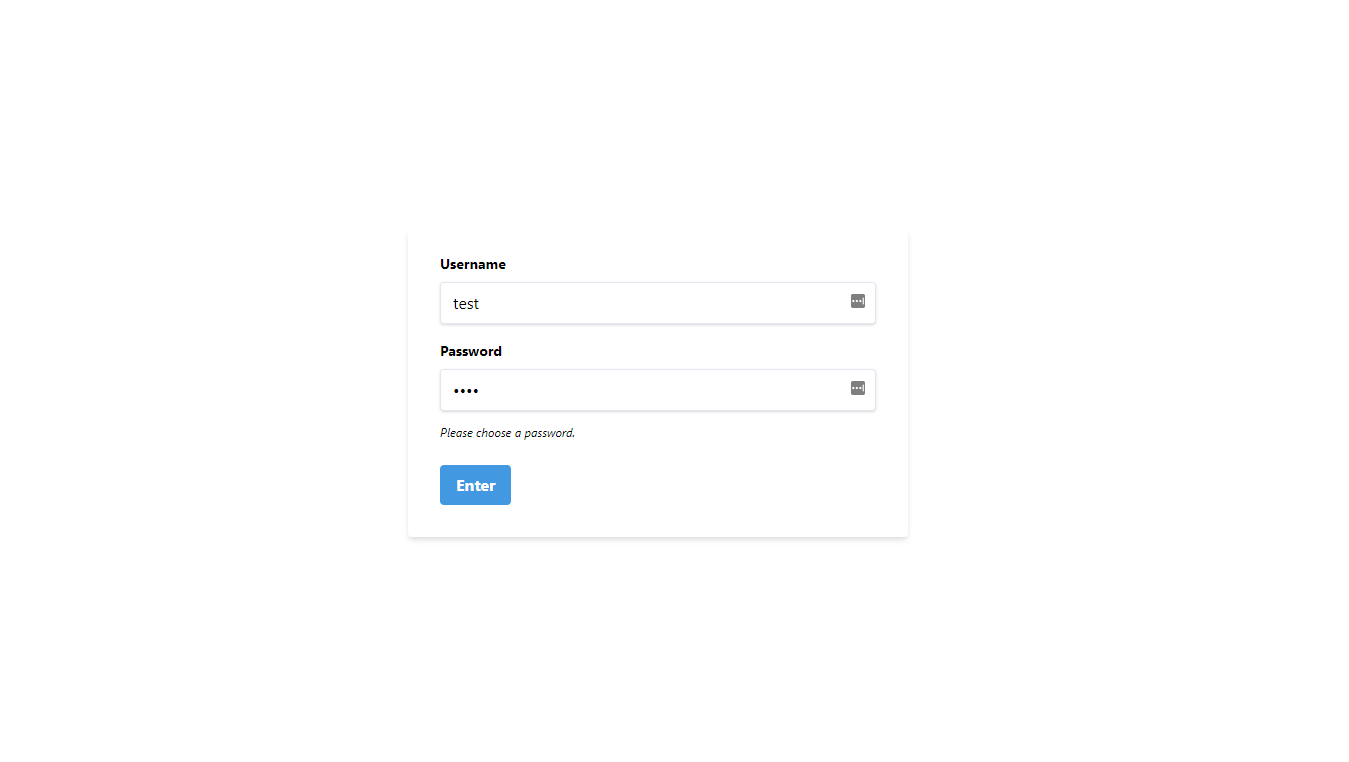
In this demo we will deploy a Twitter-like application which allows users to login and posts on public feed:
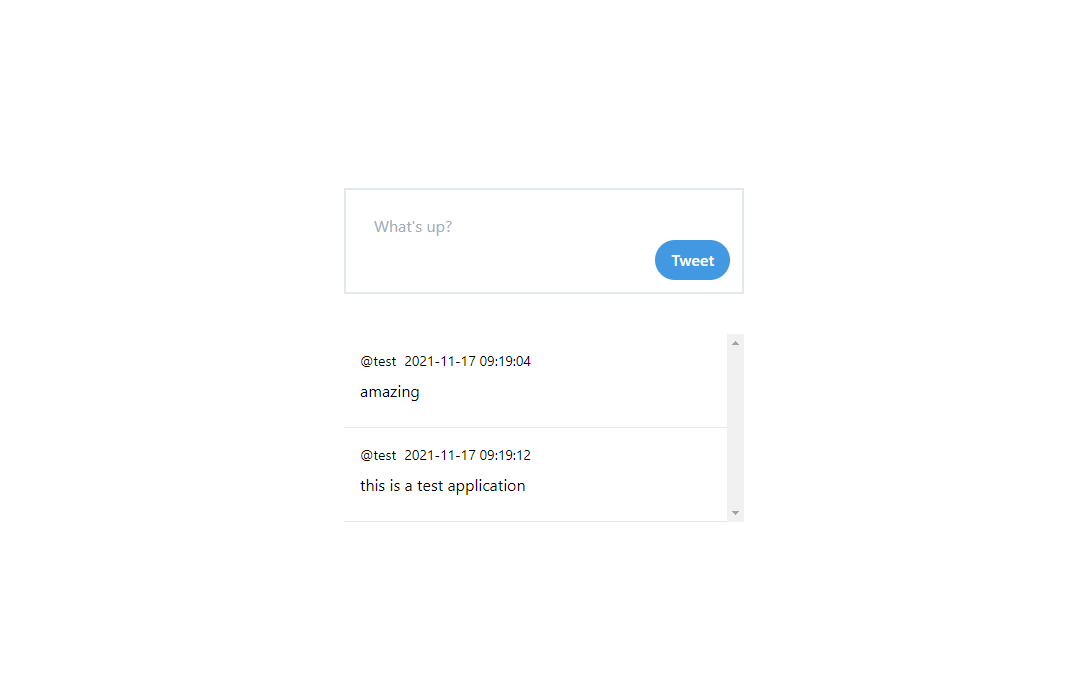
Deployed demo project: https://paladium-nativeci-demos-96ed.nativeci.io
Deploy the application
First navigate to https://github.com/paladium/nativeci-demos and fork the repository to your account.
After that navigate to https://console.nativeci.io/add-project and add your repository with the following settings:
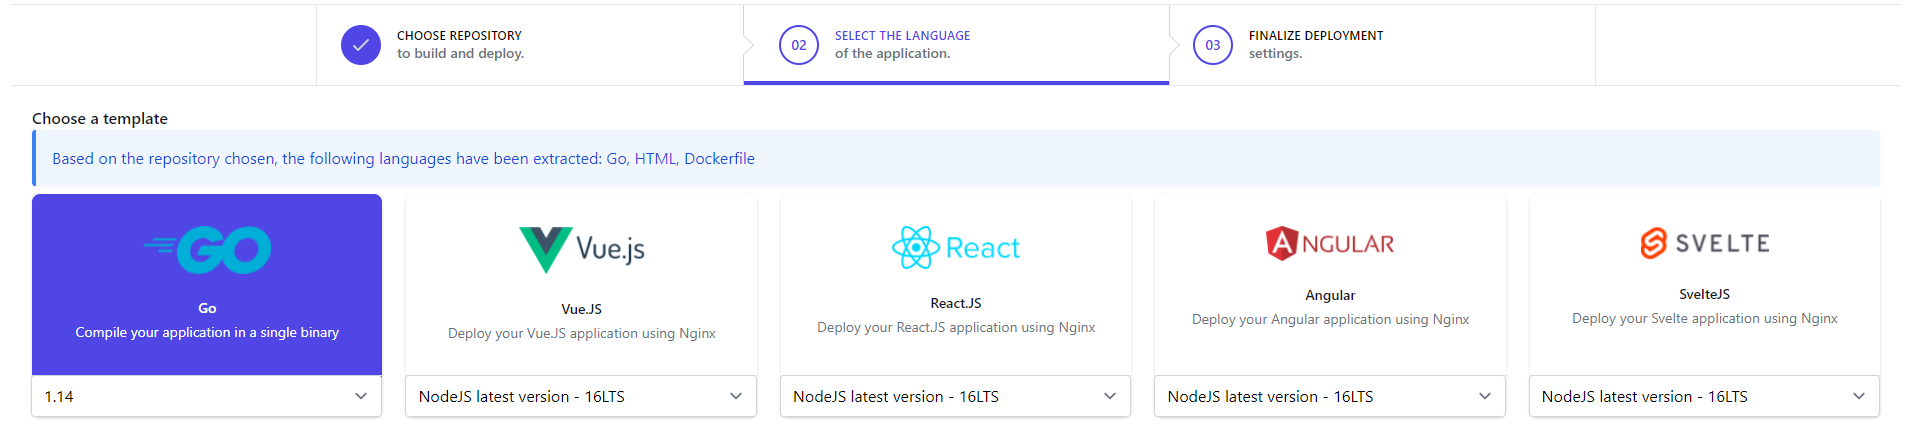
 Next choose Golang 1.14 as the version:
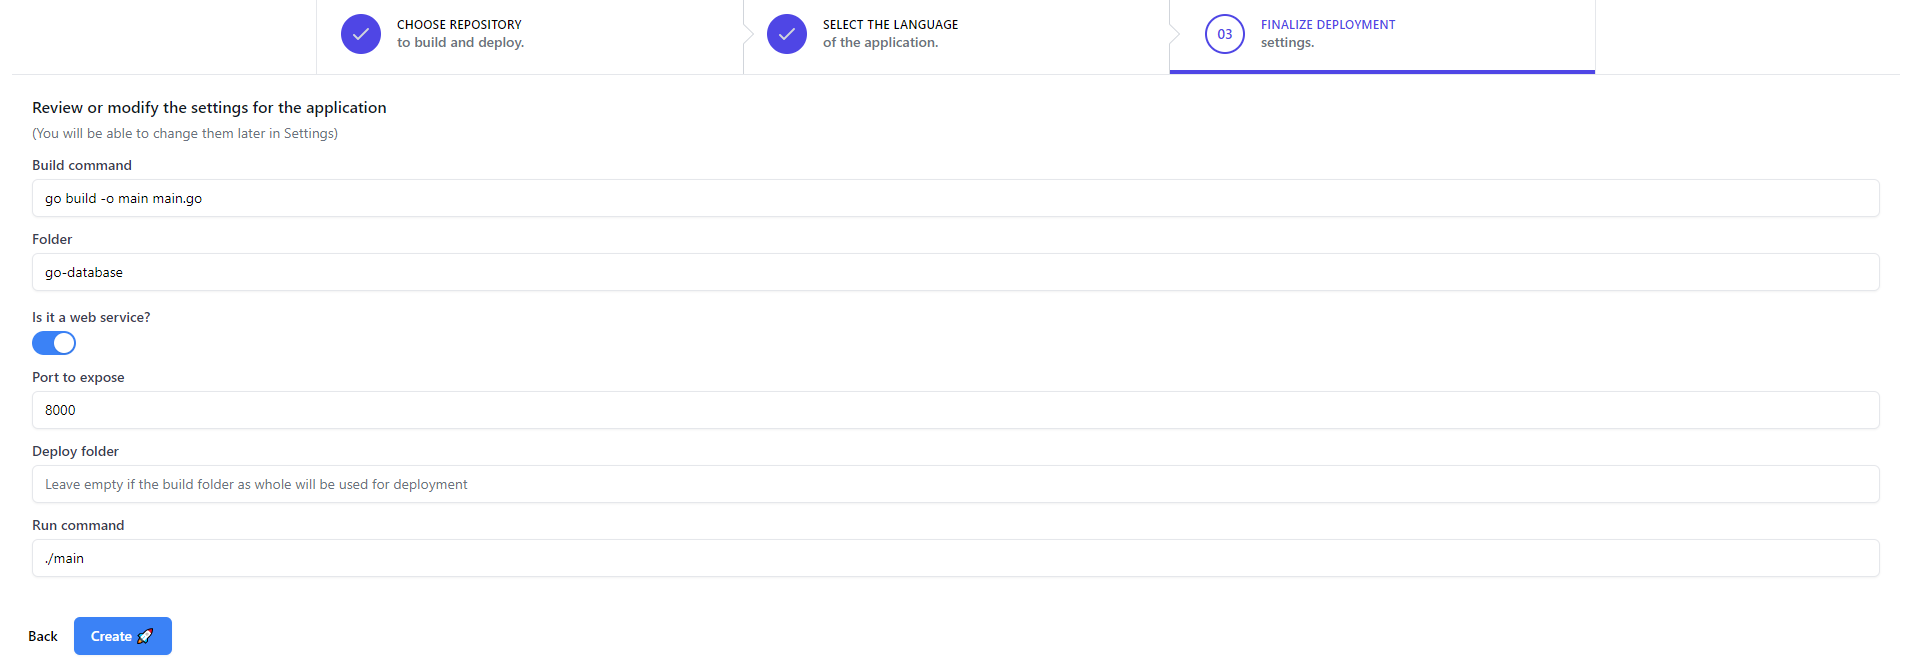
 Finally specify the deploy folder to go-database and choose that this will be a web service, with port 8000. Leave the rest of settings to default:
Click on Create and wait for a few moments until the project gets created and built. Meanwhile, we will prepare the database.
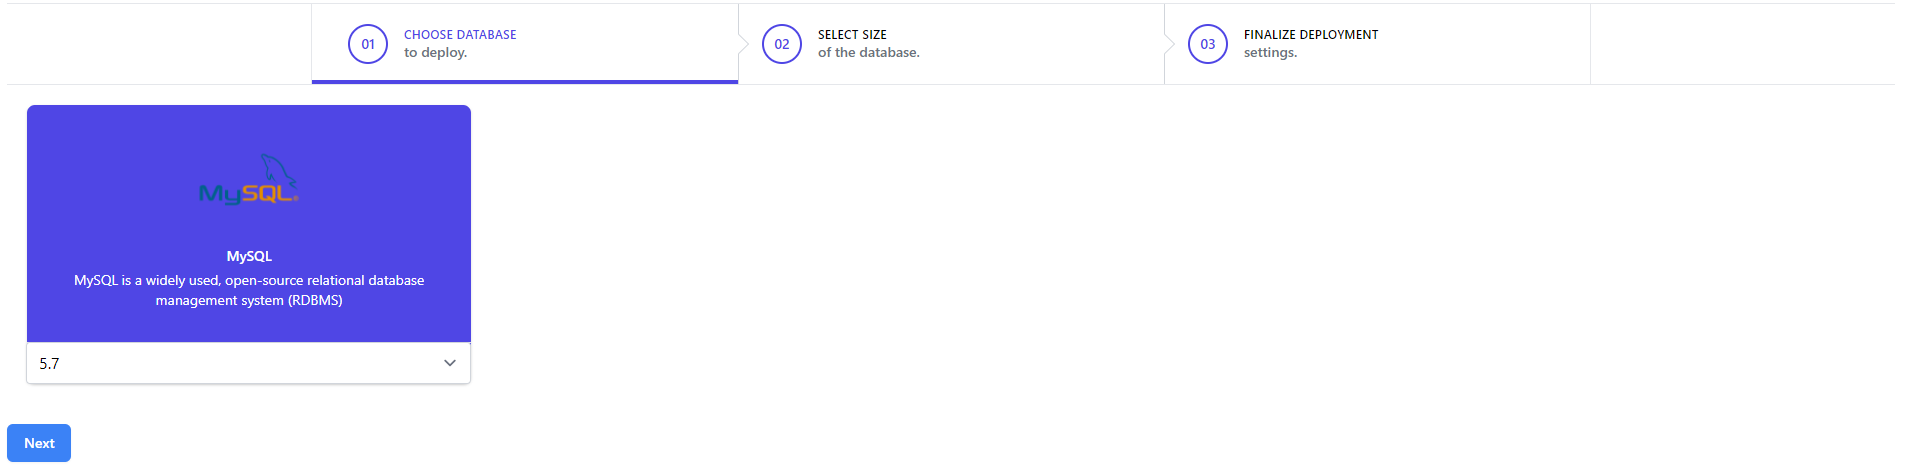
Deploy the database
Navigate to https://console.nativeci.io/add-database and choose Mysql version 5.7 as the database:
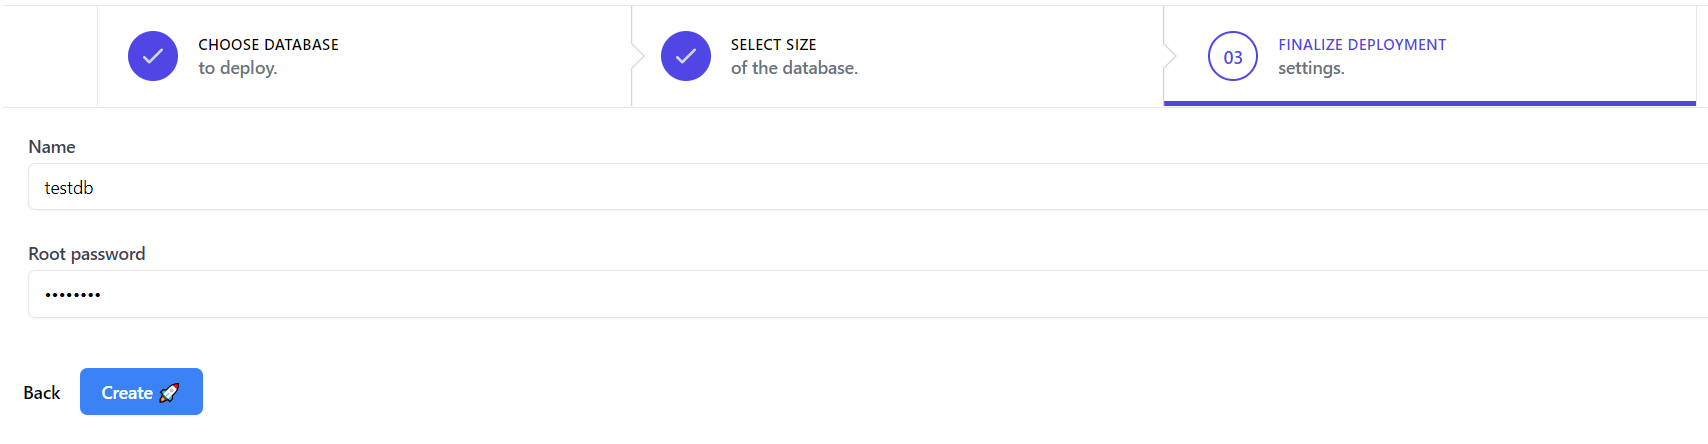
 Choose the flavor on next page and finally specify the name of the database (This could be any name, since we will be creating MYSQL databases inside of it). Provide root password for your new database as well:
Wait a few moments, before a database is created, after that click on the database created and click on Attach button:
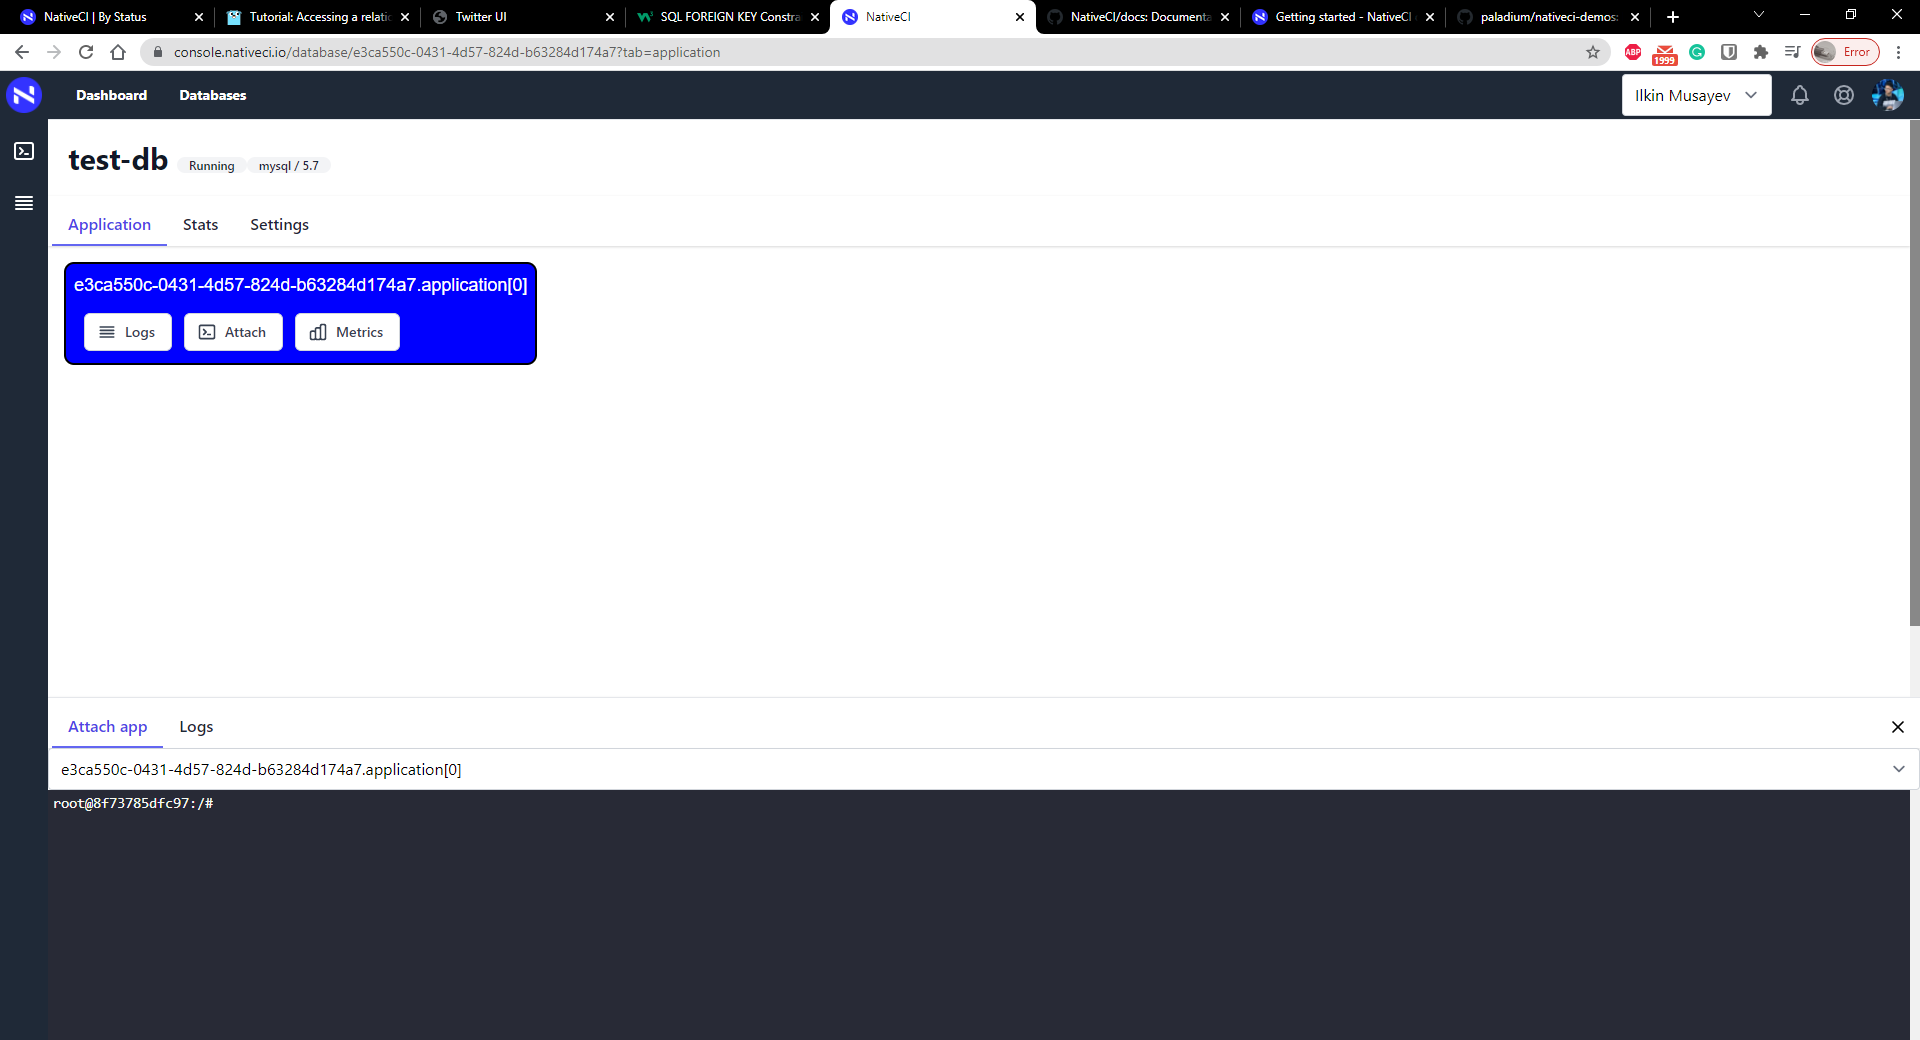 Enter the following script to connect to your database:
mysql -u root -p$MYSQL_ROOT_PASSWORD
Note: $MYSQL_ROOT_PASSWORD (the password you provided earlier) will be replaced automatically for you as environment variable.
Note: you could copy the text and right click "Paste as plain text" into the terminal

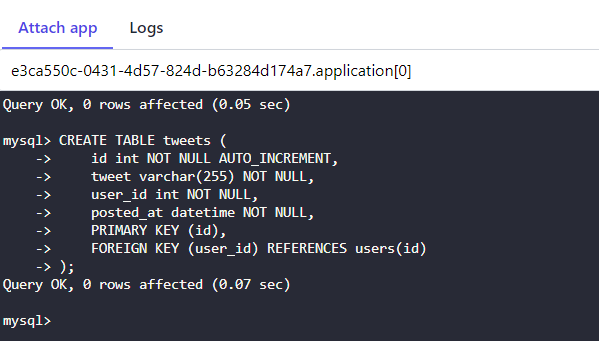
Next copy the contents of tables.sql from your forked repository or from https://github.com/paladium/nativeci-demos/blob/master/go-database/tables.sql
Paste the contents into the terminal:
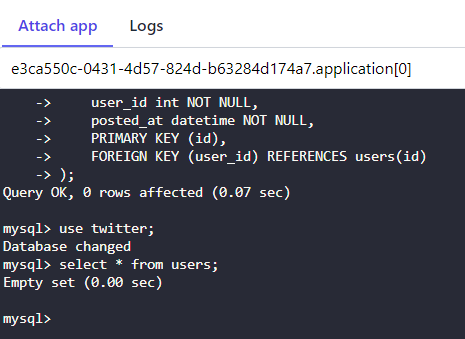
To verify the database was created run:
use twitter;
select * from users;
Note: in case you encounter any problems or have any suggestions about your specific usecase, you could open an issue at https://github.com/nativeci/issues
Connecting application to database
We have everything ready to connect our application to the database.
Let's add the final touches, navigate to Dashboard and choose your created project (you should see no instaces running, it is normal since the application cannot connect to the database).
Navigate to Environment variables and set the following variable:
Key: JWT_SECRET, Value: any random string you want
Click add and finally save.

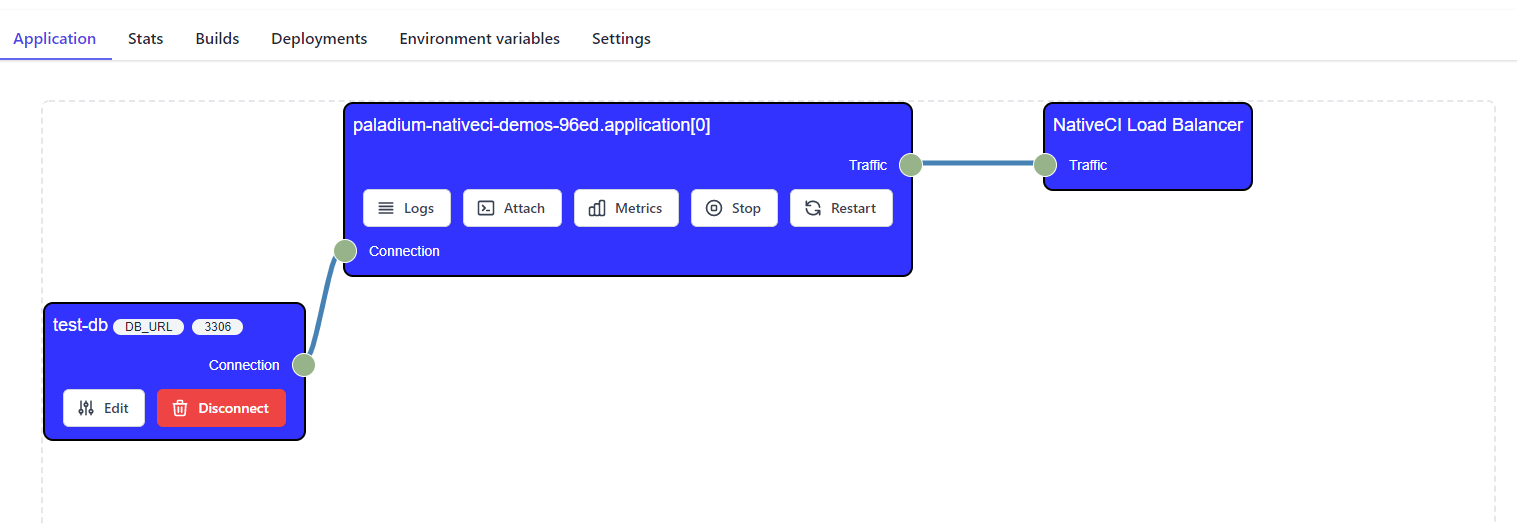
Navigate to Application Tab and click on the database you created earlier from the right sidebar:

You should then see the following view after a few seconds:
You can click on View app button the left sidebar to verify your application is working:
From now on, you can take the project as the basis for your own applications. Go ahead and explore more features, like customising database port or database connection string. Good luck :)